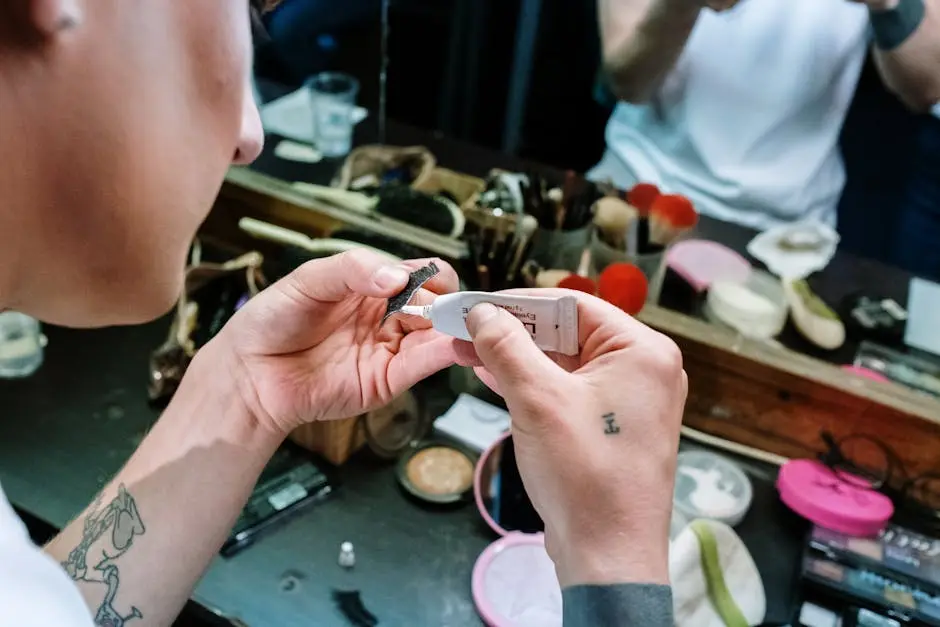
Using lash adhesive can seem daunting for beginners, but with the right tips and tricks, you’ll be applying falsies like a pro in no time. This guide provides essential advice to help you get started and ensure your lashes stay put throughout the day.
Choose the Right Lash Adhesive
Selecting the right type of lash adhesive is crucial. Look for options labeled as ‘latex-free’ if you have sensitivities, and consider the drying time and hold strength based on your needs.
Moreover, there are two common types of lash adhesives: black and clear. Black adhesive gives a more dramatic effect, blending seamlessly with dark eyeliner, whereas clear adhesive is perfect for a natural look. Experiment with both to see which complements your style best.
When starting out, opt for a mild adhesive that allows for flexibility, as strong adhesives can make adjustments difficult. This way, you gain confidence with each application, emphasizing both comfort and ease.
Prep Your Lashes and Eyes
Before applying lash adhesive, ensure your natural lashes are clean and free of makeup. Using an eye primer or some light mascara helps the lashes adhere better.
It’s also beneficial to curl your natural lashes before applying falsies. This creates a beautiful lift, making it easier to blend the two together seamlessly and providing a more open-eyed look.
Don’t forget about your eyelids! Applying a light layer of primer can reduce oiliness, helping the adhesive stick more effectively. A clean slate is key for a successful lash application.
Apply the Adhesive Correctly
Use a small applicator to place a thin line of adhesive along the band of the lash. Make sure to let the glue sit for a few seconds to become tacky before application.
Applying too much adhesive can lead to a messy application. Trust me; less is more! A thin, even layer dries faster and creates a stronger bond with your natural lashes.
As a beginner, choosing a precision applicator can make applying lash adhesive easier. Some brands even provide brushes that allow for control, minimizing the chance of excess glue spreading.
Position the Lashes Accurately
Get as close to your natural lash line as possible when placing the falsies. Start from the center and work your way to the corners for the best fit.
If you accidentally place the lashes too high, it’s okay to remove them before the adhesive fully sets. A gentle tug can lift them away—just be careful not to pull on your natural lashes!
Taking your time during this stage is essential. Patience will ensure that the lashes sit perfectly along your lash line, creating a polished and natural appearance.
Secure and Blend
Once the lashes are in place, gently press them to ensure they’re secured. You can also use an eyelash curler to blend your natural lashes with the falsies for a seamless look.
Another great tip is to apply a bit of mascara on top of your falsies after they are dried. This will help to bond them all together and give your lashes a fuller appearance.
Don’t forget to check your lashes from different angles! Ensuring they look good from all sides is key to a beautifully balanced lash application.
Final Thoughts
With practice and patience, using lash adhesive will become second nature. Remember to choose the right adhesive for your needs and follow these tips for a flawless application. Happy lash day!


